
[Nginx] Nginx 사용법 (Mac OS)
Nginx를 MacOS에서 사용하는 방법을 간단히 알아보자.
Nginx 설치
brew install nginx
주요 명령어
- nginx 데몬 실행 :
nginx - nginx config 문법 체크 :
nginx -t - nginx 데몬 Reload :
nginx -s reload - nginx 데몬 종료 :
nginx -s stop - nginx PID 확인 :
ps -ef | grep nginx - nginx PID 삭제 :
sudo kill [PID]
기초 사용법
Nginx config는 /usr/local/etc/nginx/nginx.conf 경로에 있고, config는 아래와 같이 수정한다.
vi /usr/local/etc/nginx/nginx.conf
worker_processes  1;

events {
    worker_connections  1024;
}

http {
    log_format  main  '$http_x_forwarded_for - $remote_user [$time_local_ms] "$request" '
                      '$status $body_bytes_sent $request_time $host '
                      '$server_addr $uri'
                      # '($upstream_addr) '
                      #'($upstream_bytes_received) '
                      #'($upstream_cache_status) '
                      #'($upstream_connect_time) '
                      #'($upstream_header_time) '
                      #'($upstream_response_length) '
                      #'($upstream_response_time) '
                      #'($upstream_status)'
                      ;

    # time_local을 millisecond 단위로 변경
    map "$time_local:$msec" $time_local_ms {
        ~(^\S+)(\s+\S+):\d+\.(\d+)$ $1.$3$2;
    }

    server {
        listen       8080;
        server_name  localhost;

        access_log /usr/local/etc/nginx/access.log  main;
        error_log /usr/local/etc/nginx/error.log;

        location / {
            root   html;
            index  index.html index.htm;
        }
    }
}
log_format
| http_x_forwarded_for | 프록시 서버를 거치기 전의 접속 IP |
| remote_user | HTTP Authorization으로 접속 시 사용자 계정 |
| time_local_ms | 요청을 처리한 시간(서버 기준) |
| request | 요청 쿼리 |
| status | HTTP 응답 코드 |
| body_bytes_sent | 보낸 데이터(byte) |
| request_time | 요청을 처리하는데 걸린 시간(sec) |
| host | host 주소 |
| server_addr | 서버 주소 |
| uri | 요청 쿼리에서 요청 파라미터를 제외한 나머지(? 이전 값) |
| upstream | upstream 로그를 찍을 때 사용 |
nginx -s reload 로 변경된 config를 반영해주자.
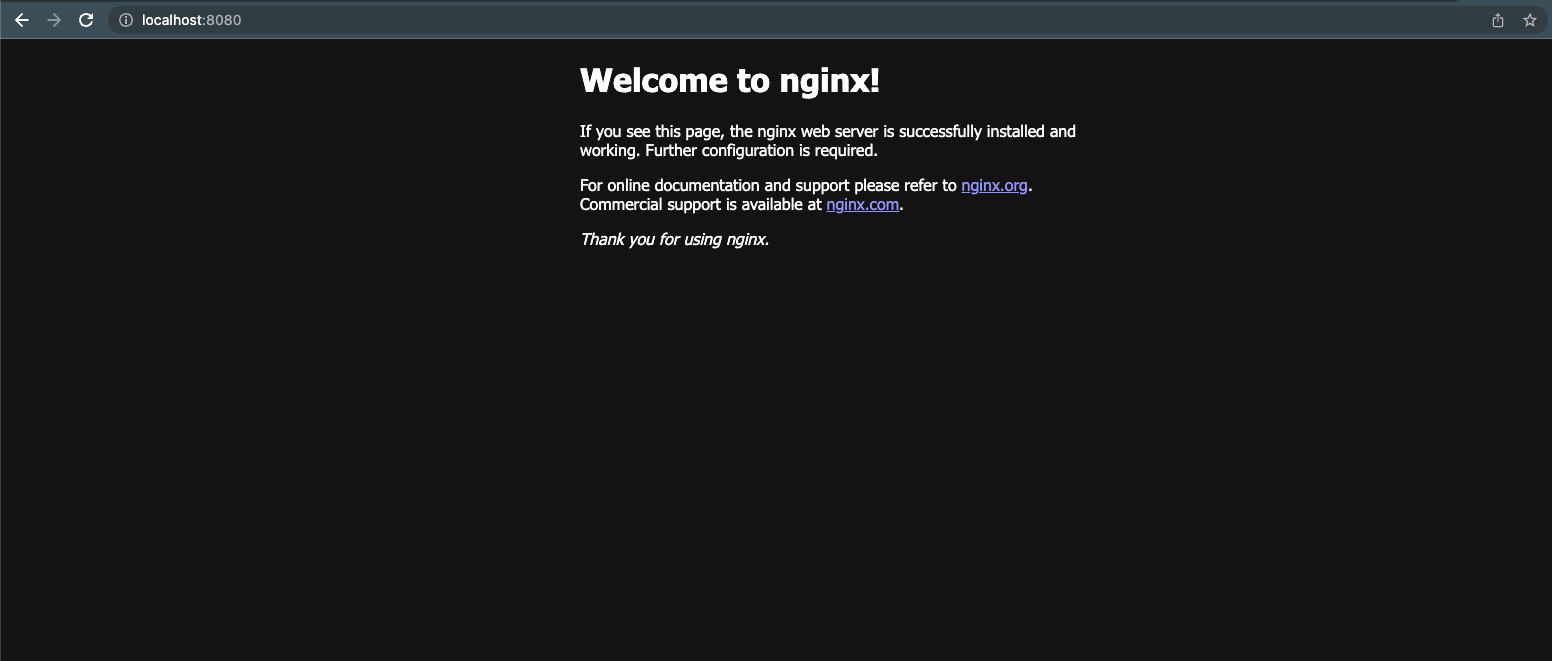
브라우저를 통해 localhost:8080으로 들어가면, 다음과 같은 화면이 나타난다. 그러면 성공!
실무에서는 Postman과 같은 프로그램을 통해 API를 호출한다.
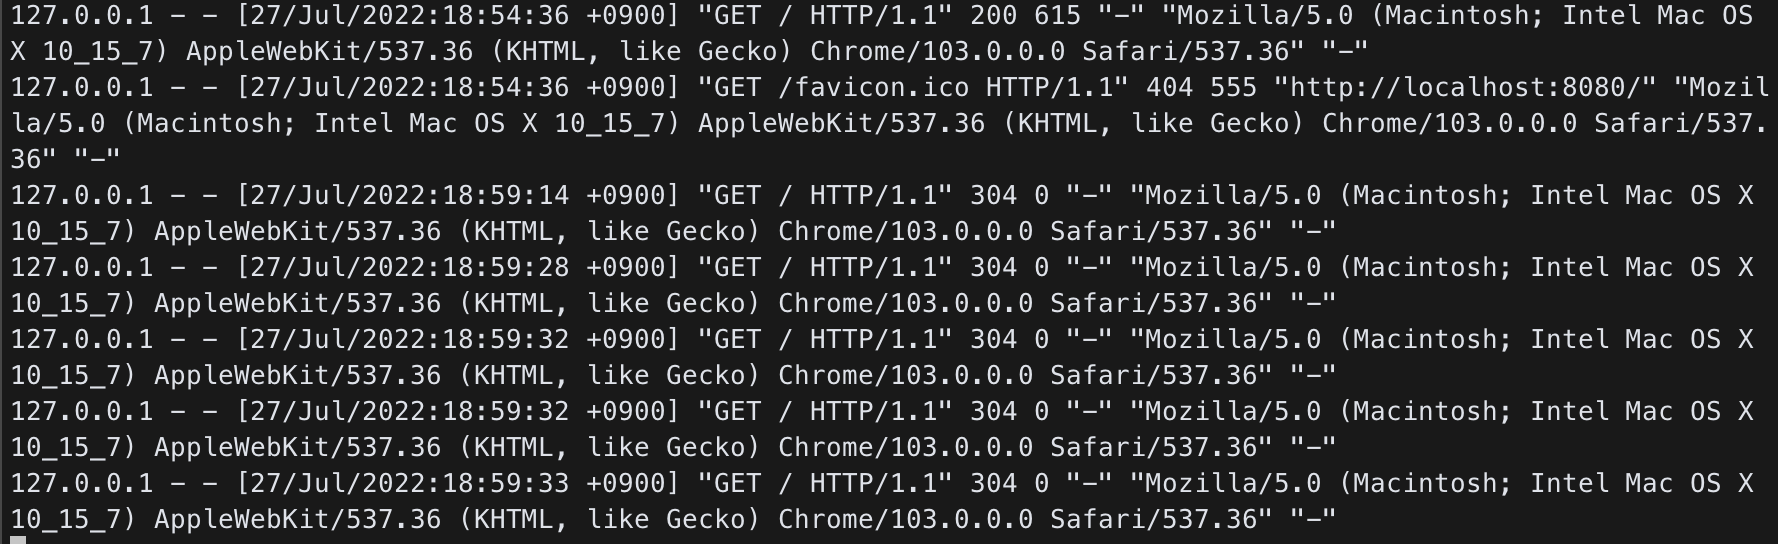
tail -f /usr/local/etc/nginx/access.log 를 실행해보면 접속할 때마다 로그가 찍히게 됩니다.
Leave a comment